February 2011 - Home Improvement Blog
News Update
Loading...

Sunday, February 27, 2011

A Little Updating to the Master Bath

A Little Updating to the Master Bath

Here is the 'before' picture of our master bath.  It's really a lovely room, with lots of nice finishes and lots of room. 

But, because it's in our nature to change things, we took down the builder-grade mirror and put up a new, beveled mirror with a frame that my husband made.  He stained it to match the cabinets.


My husband's faucet quit working correctly, so we decided to change them out, as well as the tub faucet to brushed nickel fixtures.  We are very happy with them.


Since we have a 'beachy' theme in here and our master bedroom, I found a really inexpensive way to decorate the walls above the bathtub.  I bought 5" starfish from ebay and superglued them right to the wall.  They were less than $15 for all six and took 10 seconds each to hang on the wall.

Thanks so much for coming by.  I appreciate your visits and your comments!

Pam

I am linking to:


Wednesday, February 23, 2011

Birdhouse LOVE!

Birdhouse LOVE!

I adore birdhouses.  I have them all over my house, all over my yard and love them! 
I've tried to limit the number I have in this yard, but there are still plenty.  Yes, I am a birdhouse addict! 
The best part of having them is when I see a family making their home in them!  Oh my gosh, I love that!


I am so excited to show you my newest one that I got from Suzanne at Thrift Store Decor Junky.  She had a giveaway on her blog and I won a CSN Stores gift certificate. 

Do you like my 'box inspector'?  :)  He's very thorough!


Of course I picked a birdhouse!  Thank you so much Suzanne!!!  I may put it outside when the weather warms up, but until then, I'll be enjoying it in the house!


This one was one of my all time favorites.  My husband built one for me and one for my Mom (yes, she was an addict too!)  When we moved two years ago, the birdhouse had to stay as it had been outside in the Oregon rain for ten years.  I was sad that we weren't able to bring it along with us.  During the summers, a beautiful clematis would grow up the 4x4 and shasta daisies grew at the base.


Another favorite.  I took all kinds of "snow on the birdhouses" pictures because in Portland, we just didn't get snow that often.  It was exciting!  I purchased this at the Portland Expo several years ago.


Yes, another snowy birdhouse picture.  My husband made this one.  I love it.


Here is one in my new backyard.  This was taken last summer.  Yes, I am ready for summer to get here again soon!!
Here is one of the birds (on the left side on the lower roof) that made its home in here last summer.   It made me so happy to see this family in here!


What sort of things do you collect?

Thank you so much for coming by and for your comments.  I appreciate them very much! 


Pam

I am linking to:

Sunday, February 20, 2011

Room to Move in the Laundry Room

Room to Move in the Laundry Room

Our laundry room has more going on in it than just about any other room in the house!  Of course, laundry is done.  The dog and cat are both fed in here.  We have cleaning supplies, household supplies, planting supplies, etc. in here. It's a decent size room, but with all that's going on in there, it gets crowded!  So the other day my husband removed the door.  It was the best move ever!  We didn't ever close the door because the dog's stuff was on the floor.  I was afraid I'd conk myself in the head when I was reaching for the dog's food or his leash.  Even though we only gained a couple of square feet, it is heavenly!  I can now get past the dog when he's eating and  I can move in there without bumping into something!

We bought our washer and dryer separately, so that's why they don't 'match', which is fine with us.  It's nice having the washer on the pedestal, because then I don't have to bend over to get the clothes out.  I didn't get the pedestal for the dryer because I like having a spot to fold clothes.


I realize this is a really small looking change, but it's a huge improvement for an area that I'm in so many times a day.  If we ever want the door back on, it's as easy as putting it back up.

Thanks for visting!

Pam

I'm linking up to:

Sunday, February 13, 2011

Adding a Pond to the Backyard

Adding a Pond to the Backyard

When we moved in to this house, there was a swingset in the backyard.  Because our kids are past the swingset age, we took it out.  Apparently when it was put in, they wanted it to stay forever--we took over 800 pounds of concrete to the dump!


The next step was removing the sod from one side of the area.  After several hours of digging and a couple of trips to the dump, it was gone!


I then spent the next few days digging for the pond.  Luckily, my son was home from college, so by mid-day each day, I did have a helper.  (haha)  The problem with that was, that by mid-day each day, it was over 90 degrees, but I'll take whatever help I can get!


We dug and dug, and took load after load to the dump. My husband would come home and help us dig and let us know we needed to dig some more!  The depth had to be at least 30" so fish could survive during the winter.  30" doesn't seem like much until you are the one digging a 30" deep hole! 
We put a carpet remnant between the dirt and the liner (sorry, no picture of that), then put the liner down.  They recommend putting something soft underneath the liner so it doesn't get any tears in it.  We then spread the liner out.  Luckily it was really hot, so the liner was very pliable.  We started adding rocks to the waterfall area first.  There were a lot of rocks put in, then taken out, then moved here and there until we felt it was looking the way we wanted it to.  Also the 'pool' area behind the waterfall  had to be high enough to spill over the rocks, but also not leak out anywhere.  We used lots of landscape foam between the rocks once we got it high enough and leak proof!


Once we got all of the pond rocks in, we put in a flagstone pathway around the edge.  I've filled the cracks in with thyme, but at the time this picture was taken, it hadn't filled in very well yet. 


The mesh draped across is to keep Max in his area. (He would love to swim all over, but the liner could get ripped, so he has to stay in this area.) Having the mesh isn't our preferred 'look', but we do love him and need a place for him to cool off in the summer when it's regularly over 100 degrees.

We put koi and feeder goldfish in and they are all doing great!  The koi were pretty small when we got them and the feeder goldfish cost 27 cents each at Petsmart, so there was very little investment.  We put several plants in the pond so that the fish could get shade in the summer. 

Having the pond is so nice.  We spent every evening out here last summer and fall and can't wait to get out there again this year!

Thanks for visiting!

Pam

I am linking to:

Thursday, February 10, 2011

Easy Update to Boring Bathroom Mirror

Easy Update to Boring Bathroom Mirror

Our main floor bathroom mirror needed an update!  And it  was as simple as making a frame to put around the existing mirror.


It took my husband just a couple of days to finish this project.  He built the frame, stained it to match the cabinets, then attached the finished frame to the mirror with liquid nails.

I apologize for not having more pictures of the process.  This project was done before I started blogging, so pictures are minimal.  Now I know to document every step!

Thanks for coming by! 

Pam
I am linking to:  Type A's Anything Goes Party

Saturday, February 5, 2011

Supersizing the Patio

Supersizing the Patio

We had a nice patio when we bought this house; however, it just wouldn't hold both our table and chairs and our firepit, so we needed to expand it.

Ok, the first step was figuring out what pavers were originally used.  Hmmm, yes, I found them (insert very happy face here!) BUT, they had been discontinued!  I called around to so many places.  We finally visited one landscape company that thought they might have some.  We went out to their very muddy yard and found a pallet of the correct ones.  We were told to be patient, that they'd go out and look for more and call me within a week.  Well, I'm not a very patient person, but was kind of at their mercy.  A week passed and no call.  When I called them I was told that the yard was still too wet and they'd call me in a week...  This went on and on for several weeks.  Finally when I called them one day I was told that yes, they had them.  Hmmm, I wonder how long they'd known that??  Anyway, I immediately drove up there and was thrilled that yes they did!  I set up a delivery time right then and there.

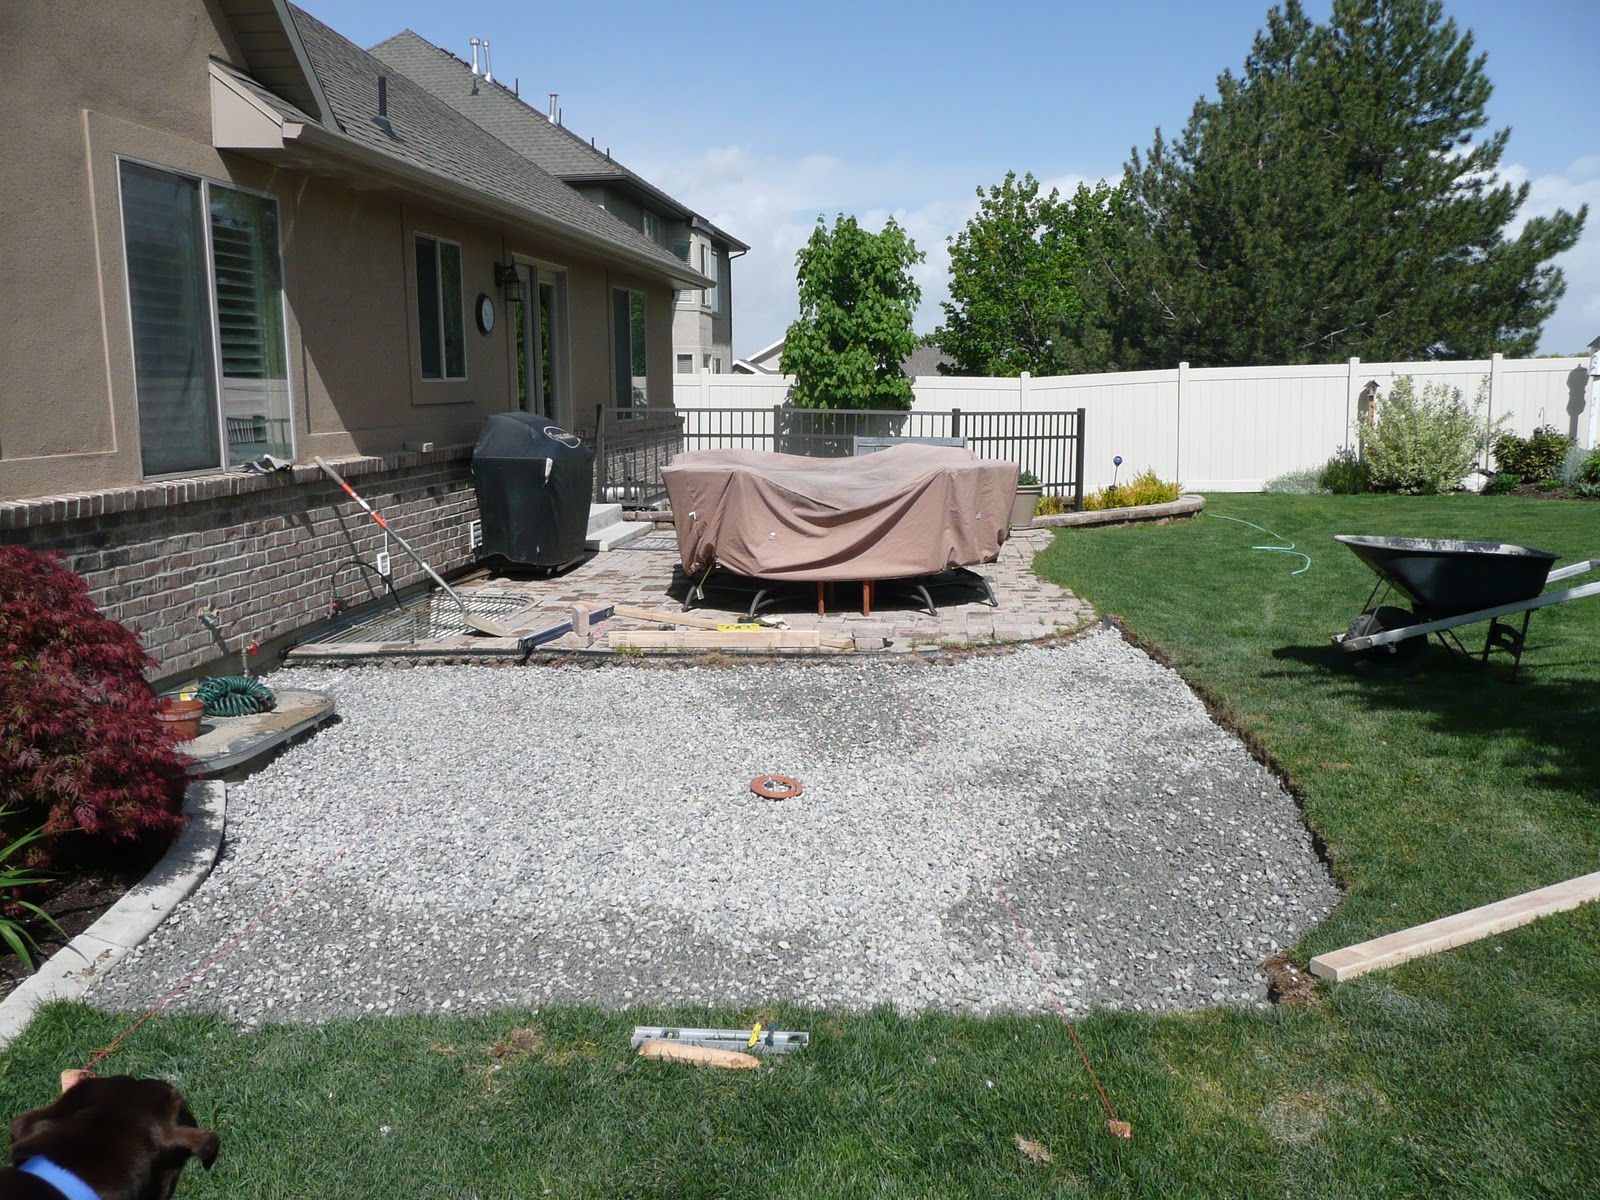
We had lots of work to do to prepare the new area.  

 Remove the sod


 Dig out everything 8"


Level the dirt, then add landscape fabric.


Add 4" of gravel

We added 2" of sand over the gravel.  Level, level, and level some more. 
We had to try to figure out a pattern for the pavers that matched the existing pattern. 
After all of the pavers were laid, we added a special polymeric sand.  We brushed that between the cracks, then went over the entire area with compactor.  The polymeric sand had to be meticulously cleaned off the pavers, so we used the blower very carefully to get it off the pavers, but allowed it to stay in the cracks.
We then lightly sprayed the area with water to seal in the polymeric sand.

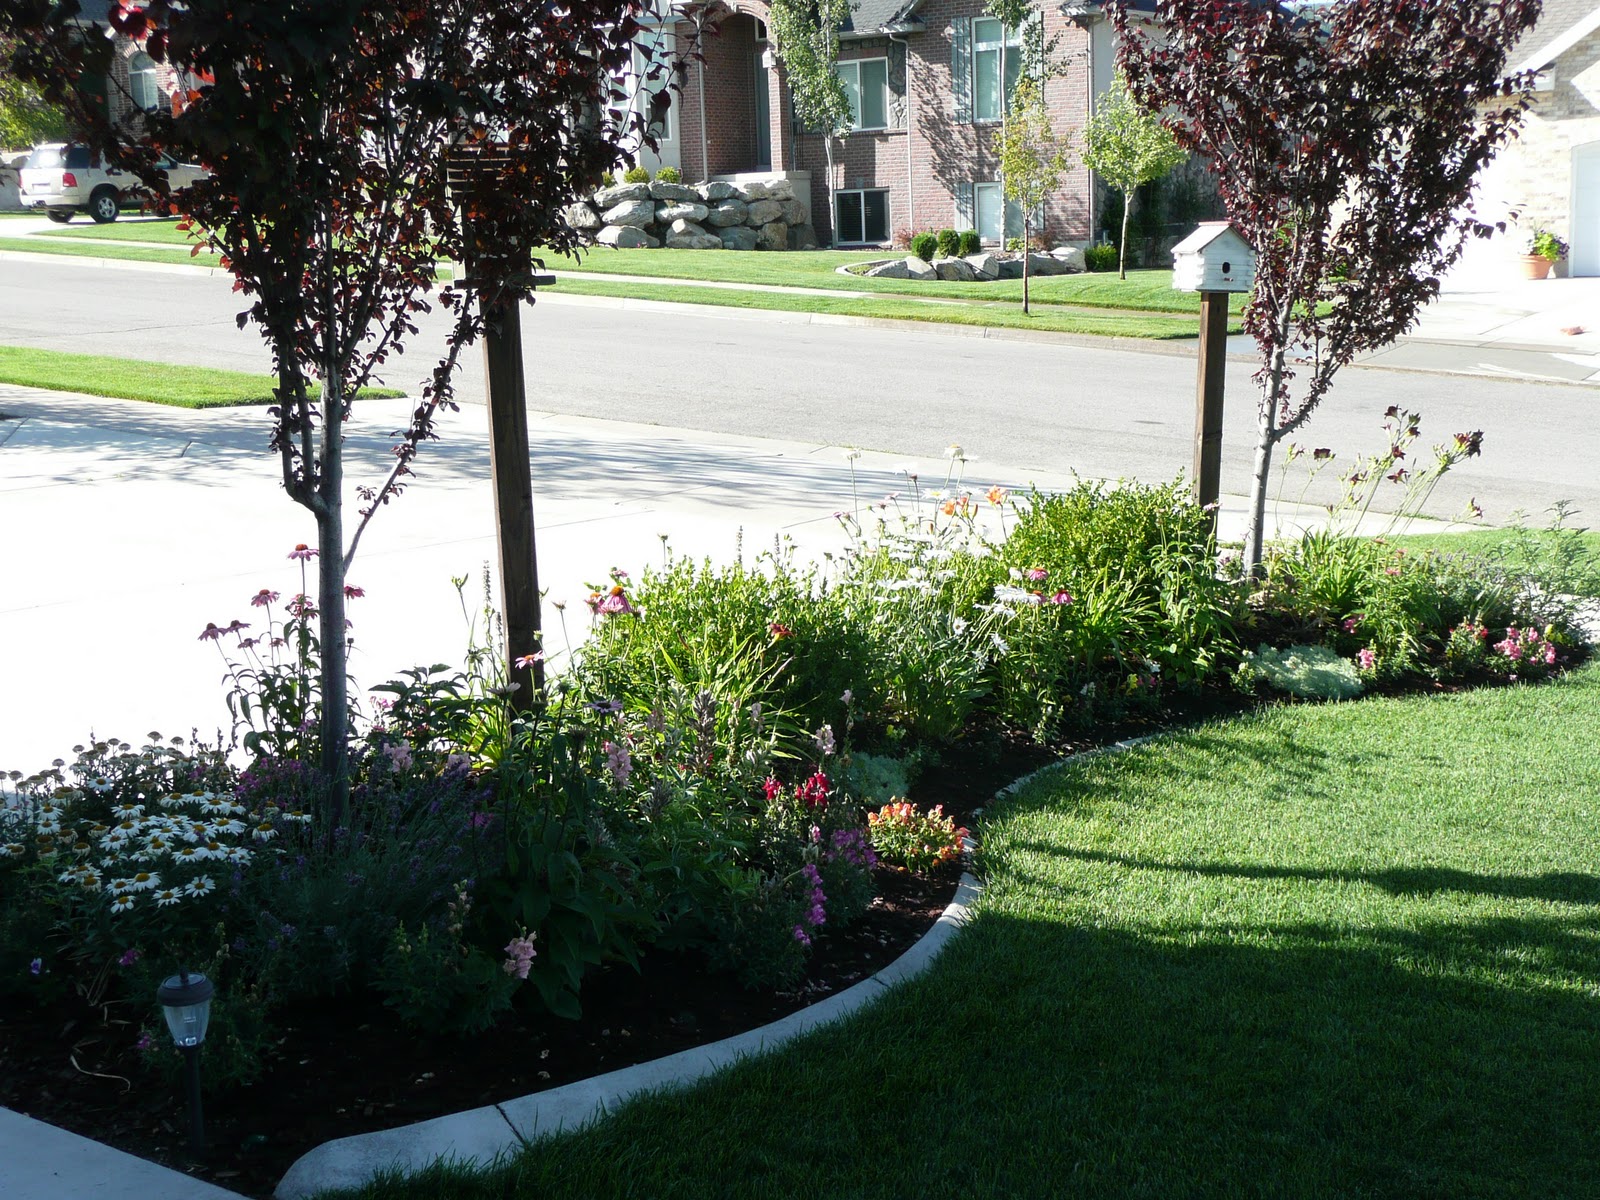
We added sod around the edges because seed would take too long and would be a pain trying to keep the dog off of. 

The sod did eventually fill in (since this picture was taken) and now looks great.  We love the new space!

Thanks for coming by!

Pam

I am linking to: 


Tuesday, February 1, 2011

Dreaming of Summer!

Dreaming of Summer!

It's cold, windy, snowy (blah, blah, blah) here and I am eagerly awaiting warm weather and flowers!

Here is the planter in our front yard when we moved in  a year an a half ago.  It took two truckloads to take all of these old  yellow bushy plants to the dump!  My next door neighbor even told me how happy she was that those ugly things were taken out! 


I only removed the yellow bushes. The trees and boxwoods were very nice, so they stayed.


Now there are a variety of perennials and I am much happier.  :)  I am looking forward to everything filling in even more, as this is just 'year #1' for this area. 


Oh how eager I am for summer to return!  :)

I am linking up to:  Savvy Southern Style Boring to Better Party   Thanks Kim!

Thank for visiting.
Pam

Asal SEO

Notification
This is just an example, you can fill it later with your own note.
Done